• Saturday, January 03rd, 2009
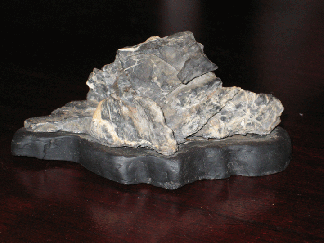
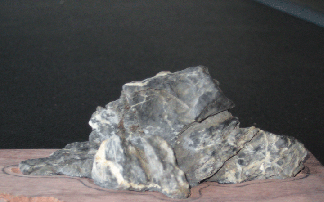
So for the holiday season I celebrated by buying a nice rock to create a Daiza. My good friend Jason of Schley’s Bonsai and Supplies in Holly Hill Florida had a great selection to choose from. I wanted a larger one than the ones I had done previously because I need something to display in my living room.

Precut rock
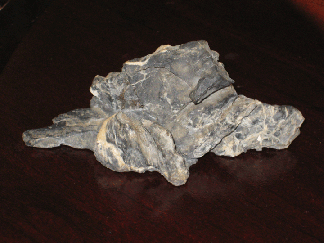
This one could have presented some challanges. However I had an idea.

Wetsaw cut rock
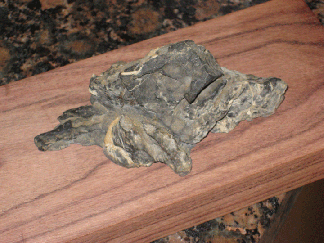
Using a wetsaw I removed the rounded unlevel bottom so that the rock would sit flat. This worked very well.

I placed the rock on the piece of Rosewood that I planned to use and traced around it.

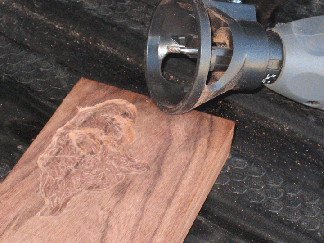
Rough Cut
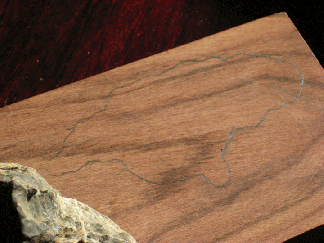
After I routered the base o fthe Daiza the rock fit in pretty easily. This still needed some work but was pretty easy up until this point

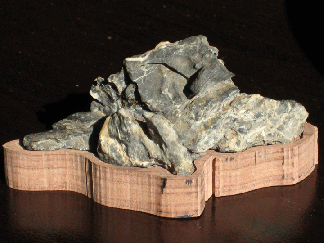
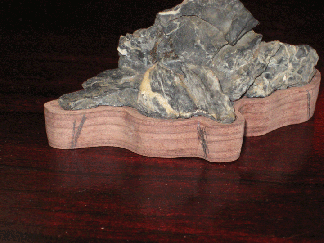
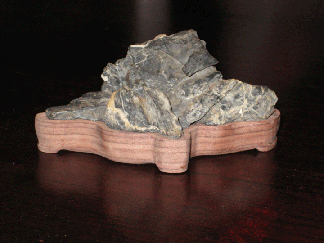
Daiza after initial final design
Well it still needs a lot of sanding and a finish, but it looks pretty good. I want to remove more from the underside to give it a lighter feel. There is still too much mass in my opinion. When it’s finished I’ll post an update.

 Share on Facebook
• Sunday, October 26th, 2008
Last BSF Convention in Port Canaveral I sat in as a spectator for a Sean Smith daiza carving workshop. I’m glad I did. Sean is the highest recognized diaza artist outside of Japan and is respected for his work in Japan as well.
After the workshop I was very motivated to create one of these little stands and it turned out pretty good. So I decided to try another one. The following steps are what I followed to create one. I hope it inspires others out there to give it a try.
I bought a rock at the most recent CFBC meeting from a long time member, Marge Pierce. I didn’t like the stand, but the rock had potential. This is what it looked like when I bought it.
Here it is removed from the stand.
I used Rosewood for the daiza. This rock was an easy one because it had a flat base. So all you do is put it on the wood and trace around it.
The outline of the rock
I use a dremel tool with a router attachment to remove the material about 1/8″. Just stay in the lines.
Now put the rock in its place and trace a line about 1/8″ around it to form the lip.
I used a jigsaw to cut out the diaza. Its starting to look good.
Now select the areas for the feet.
Here it is in its final form. It still needs a ton of sanding and handling to darken it up. That’s all there is to it. Give it a try
Share on Facebook


